

27 May Good Thing We Were Hyped!
You know how it is at the start of marriage – how it doesn’t matter what your first place is like because it’s just amazing to be together?! I guess that is how it was when we first started our bus conversion 😉 And yes, just like the title says, good thing we were hyped, cause taking those stinkin` seats out of the bus was a pain!!
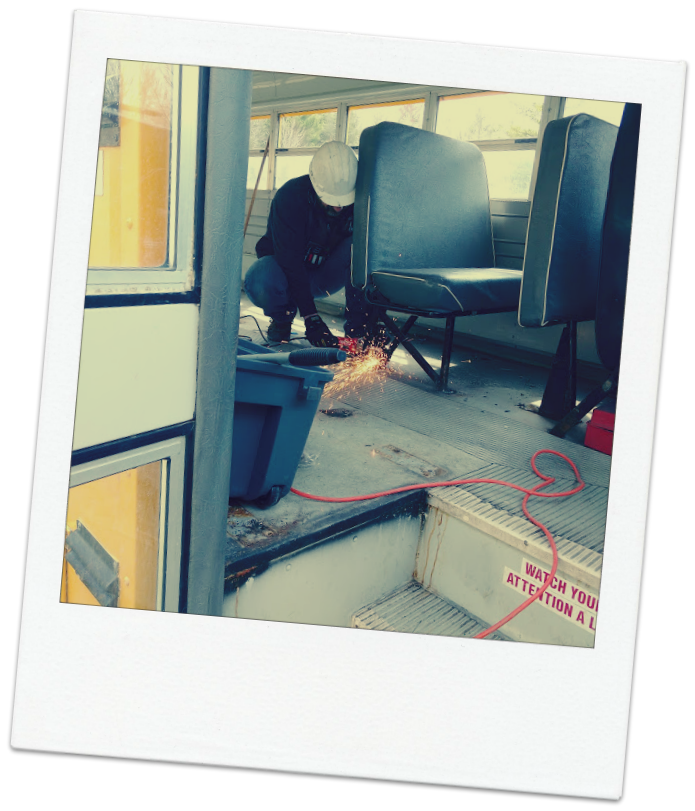
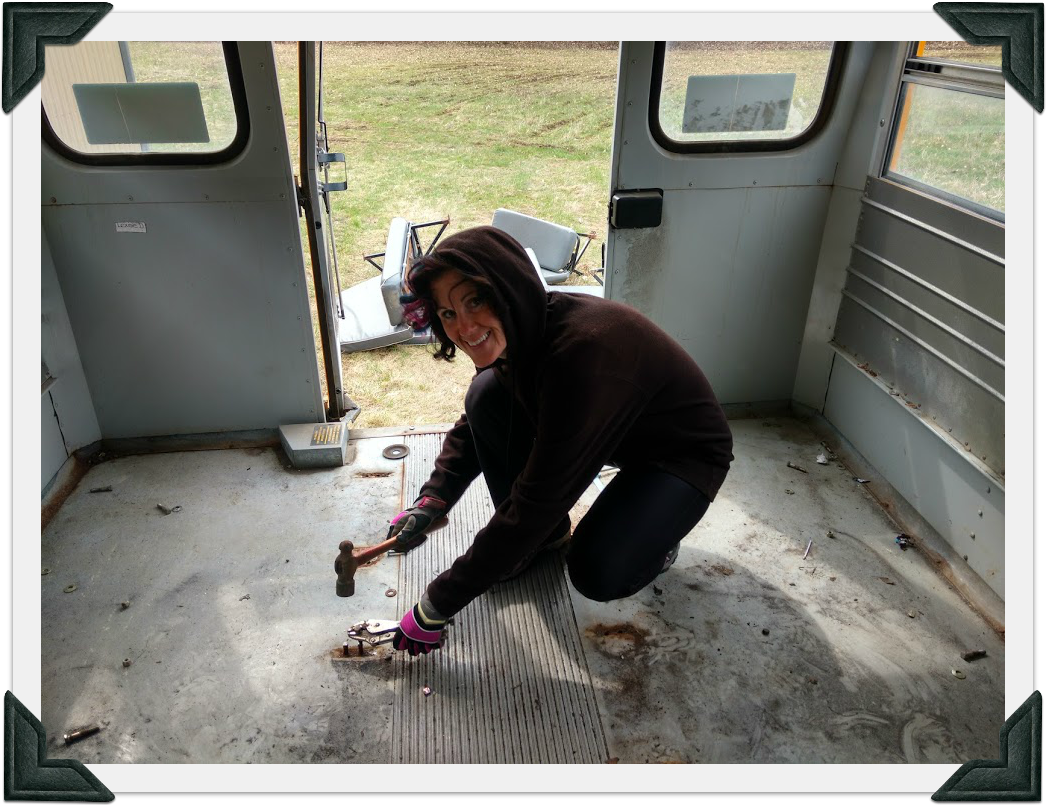
After fighting with rusty nuts and bolts that had “become one” with the bus, (the Force was strong with those ones!), we quickly learned that using our grinder was a necessity!
And we went through quite a few grinding disks in the process 🙂 It sure felt good to bodily throw the bench seats out the back door! We envisioned our living space as it ‘grew’ with each removed seat!
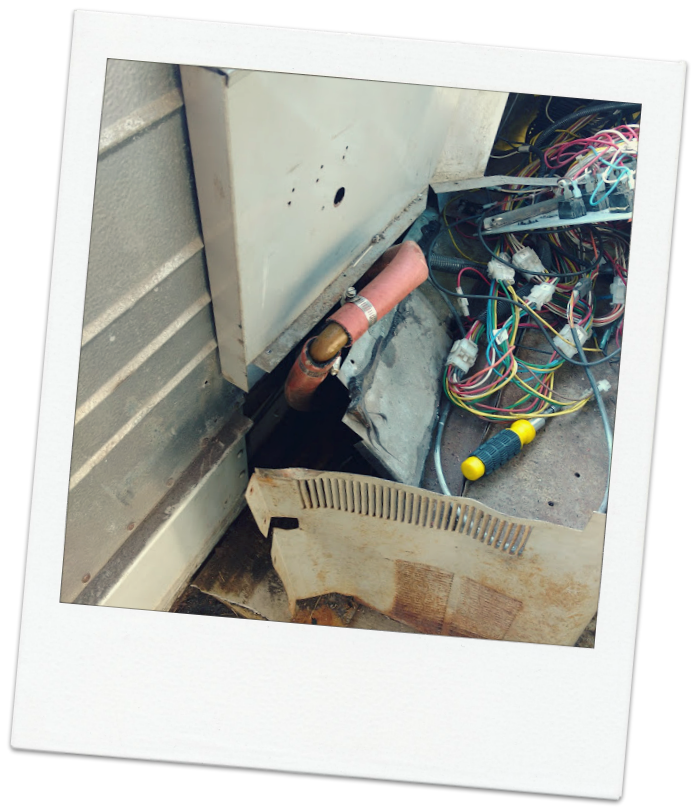
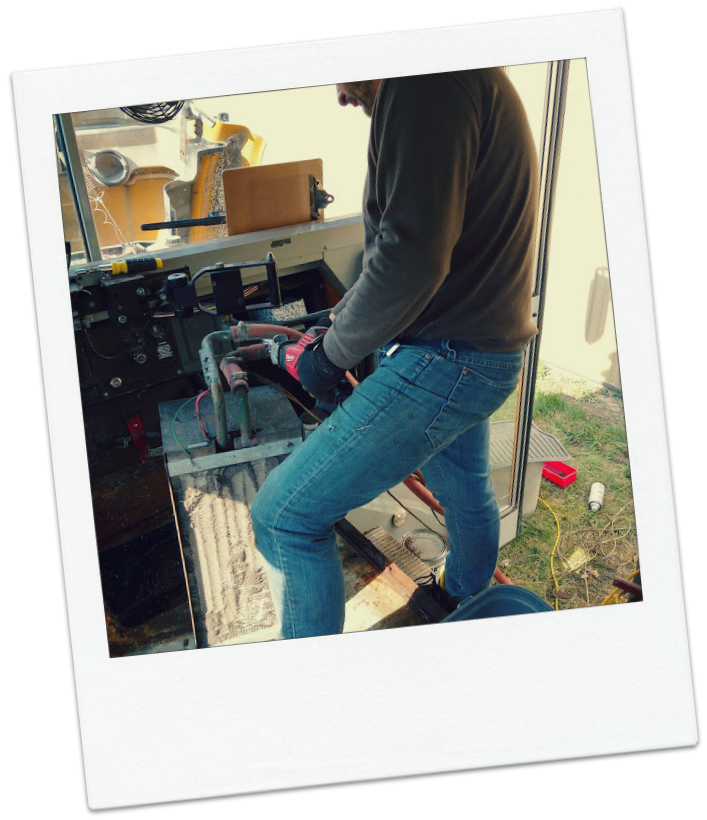
Next to go was the rear passenger space heater (layman`s vocabulary).
A fiberglass cover was bolted over all the heater hosing, so we put our trusty grinder to work to remove the bolts holding that in place as well, and happily junked the whole heater complete with hoses.
I held the hose end up to keep the coolant from leaking all over the place, and we emptied the liquid into a large jug with a cap, to be used at a later date. We snipped the hoses as short as we were able and rerouted them into themselves to give the ability for the liquid to continue its flow, with the intentions that the front heater would work…
Here is where we must have made a boo-boo, because, this winter, it was mighty chilly in the driver’s seating area, and the window defrost had issues… BUT…unknowingly, we cheerily moved along! (This Fall we will give you an update and the What NOT to DO, when we do repair the problem.) There are numerous videos online, as well…
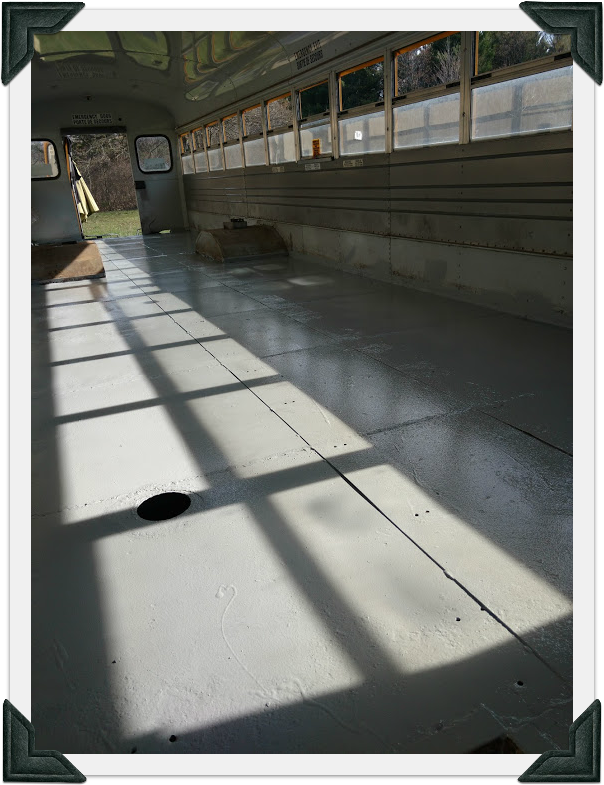
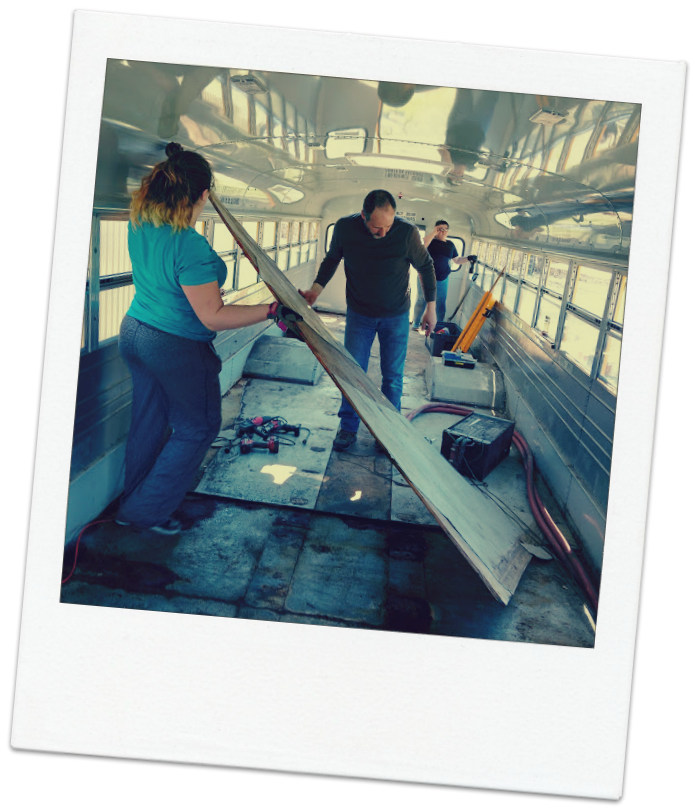
Unfortunately, the floor removal wasn`t any easier!I tried to convince Fern that we should just leave the flooring there, and build over it, but wisdom prevailed — who knows what lurks under that flooring, he said! So, yes, we ripped up the horrid, aged linoleum, that was well trampled by countless children
over the years…and it was a good thing we did! Surprises abounded! Rusty holes through the floor around the wheel wells and at the back corners of the walls…
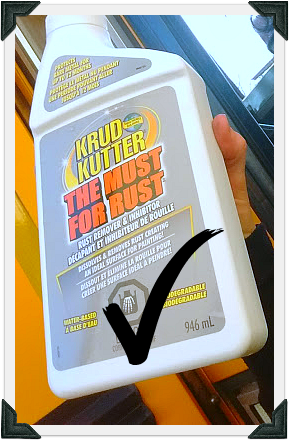
Thankfully, through research and awesome advice from our schoolie friends on Facebook, we found this most useful product: Pour this sludge evenly over the floor, and let the magic begin! It truly is magical! I loved watching the rust disappear, and the floor turn silver!
Next step: Tremclad paint, in a lovely shade of grey 😉 I even painted up the walls, considering they are metal as well. And TADA!
All in all, this took us just about a week of work, after our jobs in the real world 😉
So, here is our first list of necessary stuff:
- Head full of dreams,
- Willpower and muscle
- Safety glasses,
- Work gloves
- Good quality grinder (we have a Milwaukee)
- Multiple grades of grinding disks,
- Mask for the toxic fumes
- Krud Kutter (shown above),
- Tremclad rust inhibitor paint,
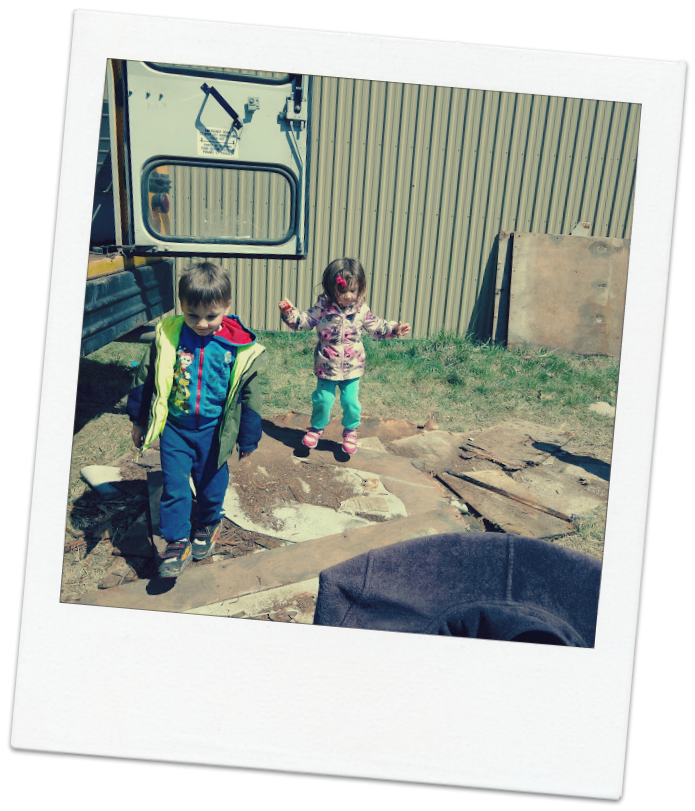
- Great helpers (grown children are awesome!)
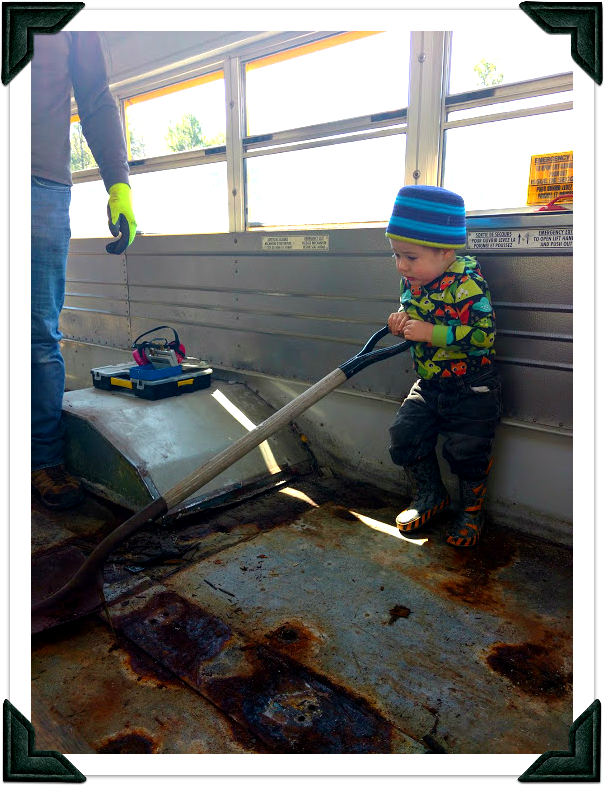
- Child slaves – free labour 😉 (Our grandchildren are equally awesome!).
Now we are ready to do step two!
Sorry, the comment form is closed at this time.